How to Book Your NBI Clearance Appointment Without Common Mistakes
Applying for an NBI Clearance is an important step for many Filipinos. Whether you’re starting a new job, renewing employment documents, traveling abroad, or meeting legal requirements, getting your clearance on time can save you from unnecessary stress. While the online booking system has made the process more convenient, many first-time applicants still encounter avoidable problems that lead to delays or even missed appointments.
Simple mistakes such as entering incorrect personal information, choosing the wrong appointment date, or forgetting payment confirmation can create unnecessary complications. Fortunately, these issues are easy to avoid when you understand the process before you begin. This guide explains each step clearly and highlights the most common errors, helping you complete your application with confidence.
Why Booking Your Appointment Correctly Matters?
The online appointment system was introduced to make the application process faster and more organized. By scheduling applicants in advance, NBI offices can reduce long queues and improve service efficiency.
However, your appointment details become part of your official application. Incorrect information can delay verification, require additional corrections, or force you to schedule another visit. Spending a few extra minutes reviewing your application before submitting it can save hours later.
Step-by-Step Guide to Booking Your Appointment
1. Register an Online Account
Begin by creating an account using your valid email address. During registration, carefully enter your full name, birth date, gender, and other required details exactly as they appear on your government-issued identification.
2. Complete Your Personal Information
After activating your account, fill out the remaining profile information. Double-check every field before saving, especially your address, contact number, civil status, and place of birth.
If you need a detailed walkthrough of the application process, visit NBI Online Appointment for updated guidance before continuing with your registration.
3. Select Your Preferred Branch
Choose an NBI branch that is convenient for your location. Consider travel time, transportation availability, and your personal schedule when selecting the office.
Some branches may have more appointment slots available than others, so checking multiple locations can help you find an earlier schedule.
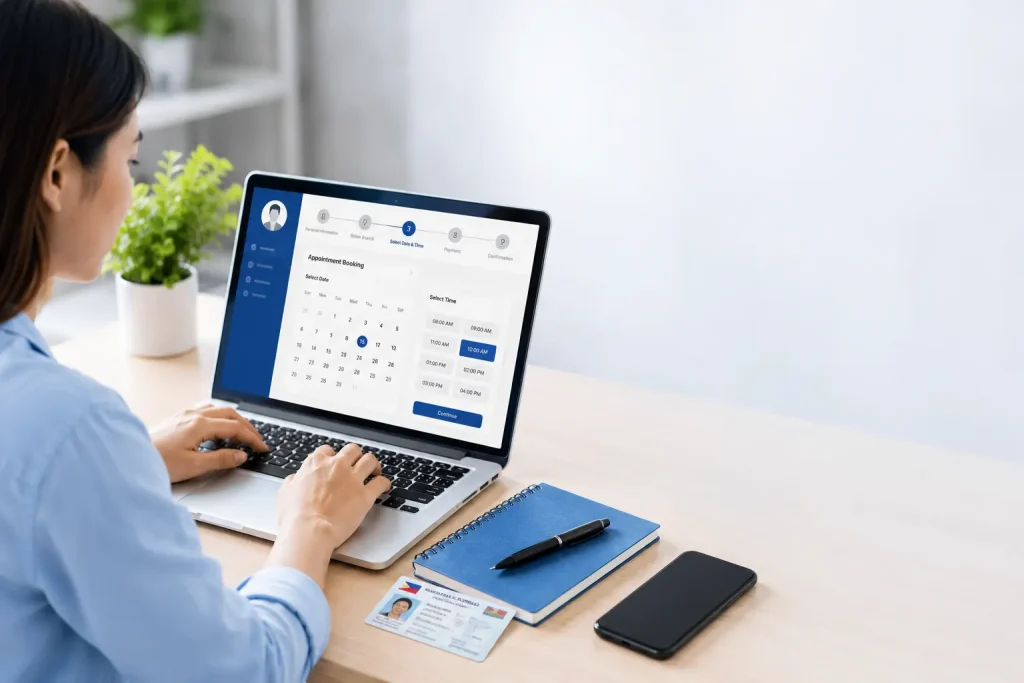
4. Choose an Available Date and Time
Review the available appointment calendar and select a schedule that you can confidently attend.
Avoid booking an appointment if you’re unsure of your availability. Missing your scheduled date may require additional steps before you can complete your application.
5. Complete the Payment
After confirming your appointment schedule, proceed with the required payment using one of the available payment channels.
Keep your payment receipt or confirmation number until your application is successfully completed. Payment verification is an important part of the process.
6. Save Your Appointment Details
Before closing the website, download or print your appointment confirmation.
Having both a printed and digital copy provides extra security in case you need to verify your schedule.
Common Mistakes Applicants Make
Many appointment problems happen because applicants overlook small details. Some of the most common mistakes include:
- Typing incorrect personal information.
- Using an inactive or incorrect email address.
- Selecting the wrong appointment date or branch.
- Forgetting to complete payment before the deadline.
- Arriving late for the scheduled appointment.
- Bringing incomplete identification documents.
- Ignoring payment confirmation messages.
Although these mistakes seem minor, they can result in delays that could easily have been prevented.
Tips to Avoid Delays and Appointment Problems
Preparing in advance makes the entire process much smoother. Consider these practical tips before your appointment:
- Review every piece of information before submitting your application.
- Use only valid and updated identification documents.
- Take screenshots of important confirmation pages.
- Save your payment reference number.
- Arrive at least 30 minutes before your scheduled appointment.
- Wear appropriate clothing that complies with office requirements.
- Check your email regularly for updates regarding your appointment.
Being organized helps reduce stress and ensures your visit goes as planned.
What to Bring on Your Appointment Day?
Before leaving home, make sure you have everything you need.
Bring the following:
- Appointment confirmation
- Payment receipt or reference number
- Valid government-issued ID
- Additional supporting documents if required
- Face mask if required by local office policies
Arriving fully prepared allows the verification process to move more efficiently.
Conclusion
Booking your NBI Clearance appointment is straightforward when you understand each step and pay close attention to the details. Taking the time to enter accurate information, choose the right schedule, complete payment properly, and prepare the necessary documents can help you avoid unnecessary delays and frustration. With careful preparation, you’ll complete the appointment process smoothly and move one step closer to obtaining your clearance without avoidable mistakes.
Frequently Asked Questions
Can I change my appointment after booking?
In some cases, changes may be possible depending on the current system policies. Always review your appointment details carefully before confirming your booking to minimize the need for changes.
What happens if I miss my appointment?
Missing your appointment may require you to schedule another visit or follow updated instructions provided through your account. It’s always best to arrive early.
How early should I arrive?
Plan to arrive at least 30 minutes before your scheduled time. This gives you enough time to complete any initial verification procedures.
Do I need to print my confirmation?
Although some offices may accept digital copies, bringing a printed confirmation is recommended as a backup.